Old fashioned caramel squares recipe with condensed milk.
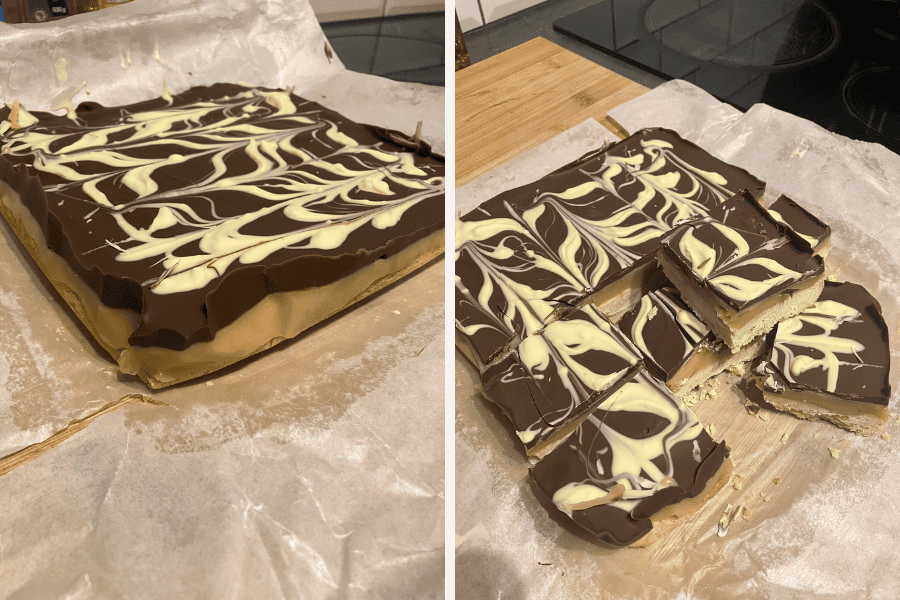
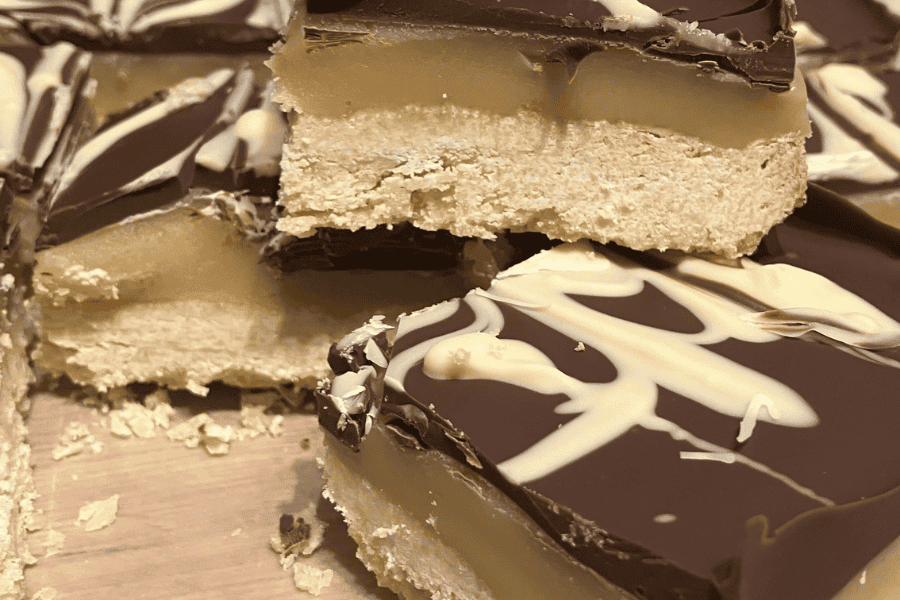
These traditional caramel squares are made with a buttery shortbread base, a thick caramel made with condensed milk and a chocolate topping. I use a mixture of milk and dark chocolate, then swirl a little white chocolate through the top for a simple marbled finish.
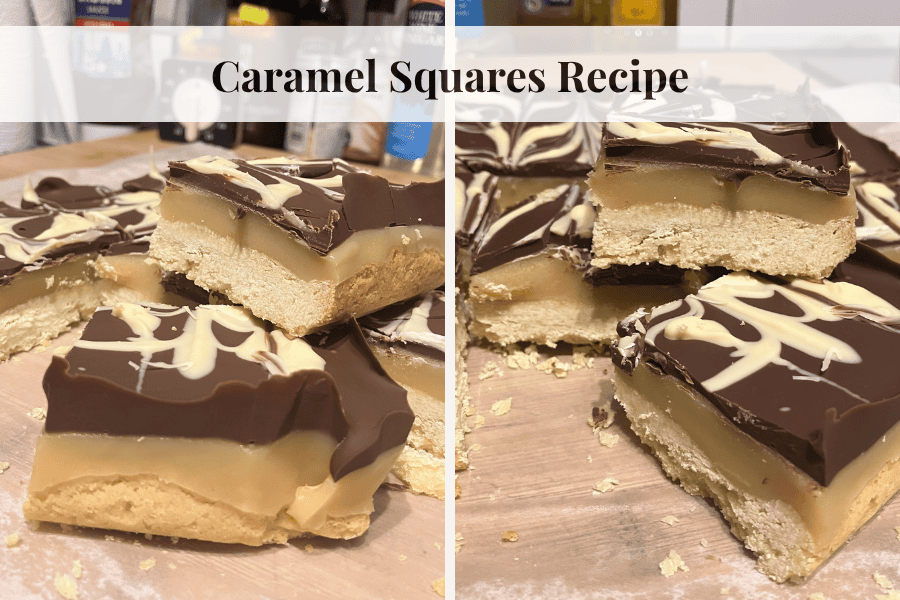
Also known as millionaire’s shortbread or caramel shortbread, these look impressive but are actually three straightforward processes: bake the shortbread, make the caramel and add the chocolate. Take your time with the layers, and you can’t go wrong!
Caramel Squares Made With Condensed Milk
I make the caramel layer with condensed milk rather than ready-made caramel. It gives you a lovely thick caramel that sets well underneath the chocolate.
If you’re new to making caramel squares, give yourself plenty of time. The shortbread needs to cool before adding the caramel, and the caramel needs to set before adding the chocolate.
You can even bake the shortbread the day before and finish the remaining layers later.
How to Make Caramel Squares
1.Make and Cool the Shortbread
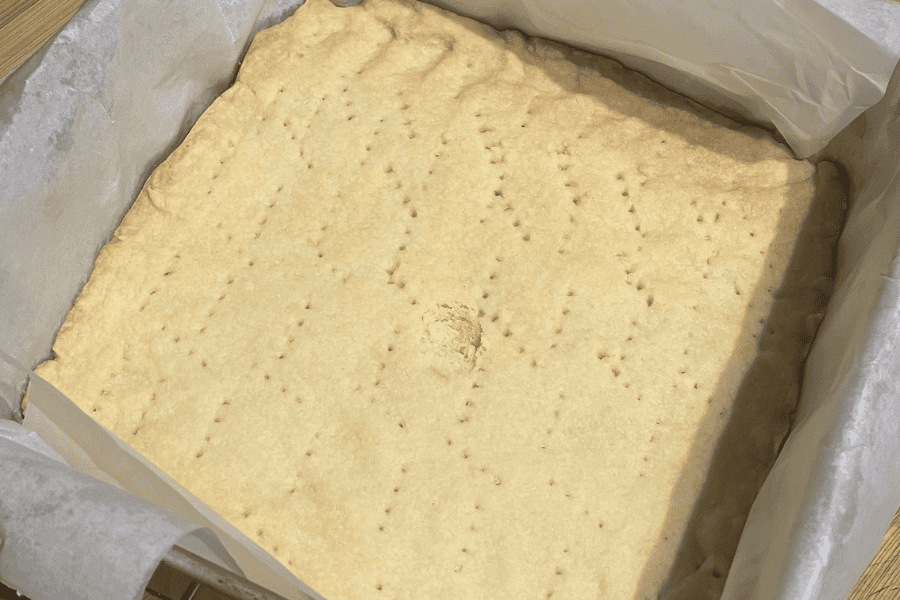
Prepare your shortbread, press it evenly into a lined tin and prick the surface lightly with a fork.
Bake until cooked and lightly golden, then allow it to cool completely in the tin.
2.Make the Condensed Milk Caramel
This is the part I would pay the most attention to.
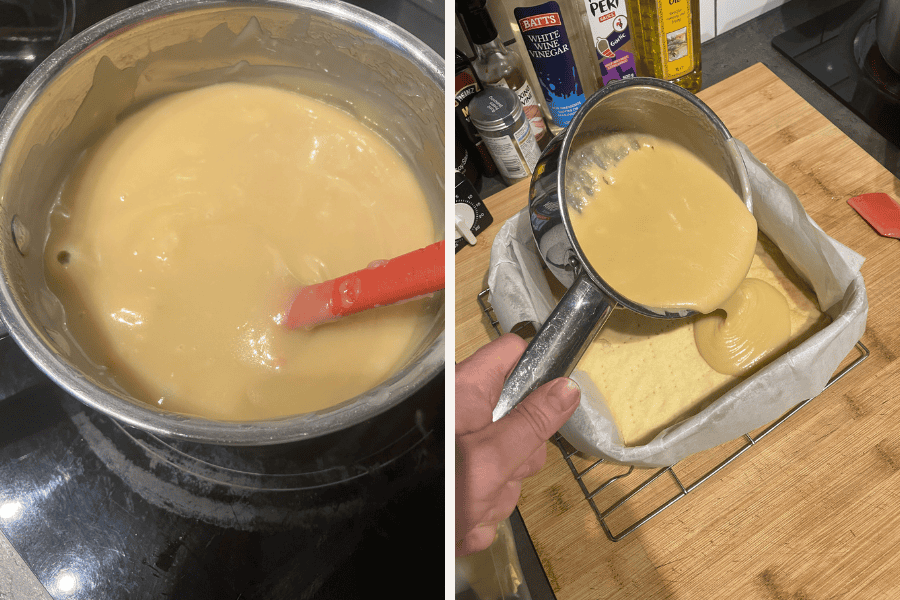
Cook the caramel according to the recipe, stirring carefully so that it doesn’t catch on the bottom of the pan.
Once the sugar has melted and the caramel is bubbling and beginning to thicken, don’t be tempted to keep cooking simply because you’re waiting for a much darker caramel colour. It can go from ready to overcooked very quickly.
You’re looking for a thick, glossy caramel rather than a particular shade. And let’s face it, condensed milk, butter and sugar is going to taste amazing regardless of the colour!
Pour the caramel over the cooled shortbread and spread it evenly.
Allow it to cool at room temperature. Once it is no longer hot, chill for around 15–30 minutes, or until properly set.
3.How to Make a Marbled Chocolate Topping
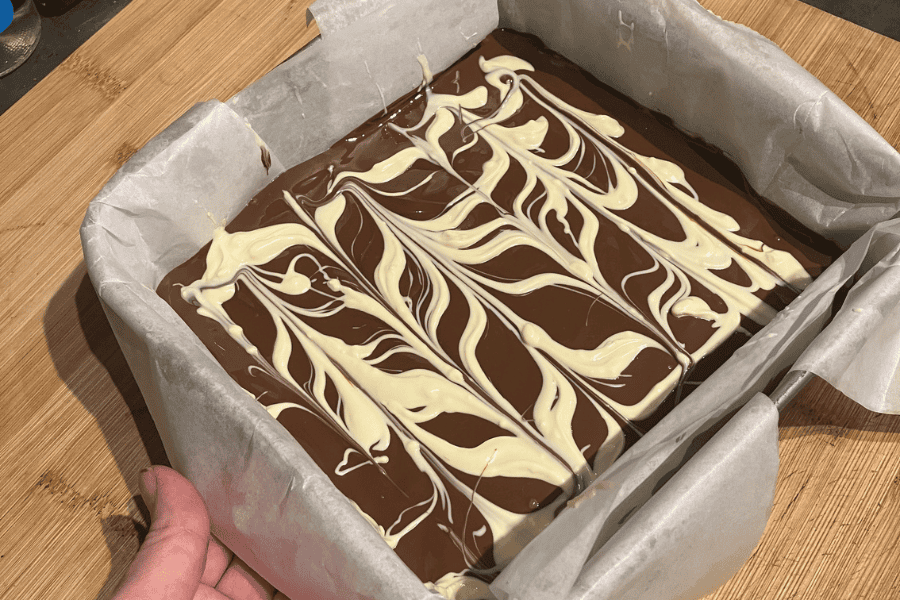
Once the caramel is firm, melt 200g of cooking chocolate. I like to use a mixture of milk and dark chocolate (100g+100g), but you can choose whichever you prefer.
Spread it over the cooled caramel.
Separately melt approximately 50g white chocolate. I microwave mine for about 15 seconds at a time, stirring between each burst.
Drizzle the white chocolate in lines across the darker chocolate. While both are still melted, drag the tip of a knife backwards and forwards through the lines to create the marble effect. As you can see, it’s not perfect, but I love how it looks ( this is totally optional btw)
Allow the chocolate to cool well before returning the tray to the fridge to set completely.
Can I Use Carnation Caramel for Caramel Squares?
You can, but ready-made Carnation caramel remains softer than the cooked condensed milk caramel used in this recipe. If you want to adjust this caramel squares recipe, you can replace the caramel in the recipe card with this method if you wish.
I have found it too soft to simply pour from the tin and it turned out too gooey to hold the chocolate layer. It needs additional cooking and thickening if you’re going to use it for caramel squares. If you want to use tinned Carnation caramel, the measurements are:
- 397g tin of caramel (carnation tins are this weight-if your tin is a few grams more or less, adjust your butter and sugar a little either way )
- 100g of butter
- 100g of soft brown sugar
Heat together in a pan and bring to a slow boil, make sure it does not catch on the bottom of of the pan. Cook it for a few minutes till it bubbles and pulls away from the sides.
How Do I Know When the Caramel Is Ready?
Don’t rely on colour alone.
Follow the cooking instructions in the recipe below and watch the consistency. The mixture should become noticeably thicker and glossy as it cooks.
If you’re thinking I’ll just leave it a little longer so it gets really brown, be careful. That’s the point where caramel can suddenly go too far and burn!
Why Are My Caramel Squares Too Soft?
You need to give each layer enough time to cool and set. The shortbread should be completely cool before adding the caramel. The caramel should then be cool and firm before you pour over the chocolate.
Caramel that hasn’t been cooked sufficiently can also remain too soft, so make sure it reaches the thickened stage described in the recipe.
Patience is key with this recipe.
How to Cut Them Without Breaking The Chocolate?
Once everything is completely set, lift the slab from the tin using the baking paper.
Use a warm, sharp knife to cut your squares. Warm the blade, dry it before cutting. Wipe and warm the knife again as needed.
It makes getting through that chocolate layer much easier without cracking it everywhere.
Can I Make Caramel Squares the Day Before?
Absolutely. In fact, they’re a good make-ahead bake because there are several cooling stages.
Make the whole tray the day before, or bake the shortbread base ahead and finish the caramel and chocolate later.
Once set, store your caramel squares in an airtight container. I prefer keeping them chilled if the kitchen is warm and taking them out for a little while before serving. They last for days in the fridge.

Ingredients
Method
- Heat the oven to 180°C / 160°C fan / Gas 4. Line a 20cm square baking tin with baking paper.
- Mix the flour and caster sugar together. Rub in the softened butter until the mixture resembles fine breadcrumbs, then knead together to form a dough.
- Press the shortbread evenly into the prepared tin and prick lightly with a fork. Bake for approximately 20 minutes, until lightly golden. Leave to cool completely in the tin.
- Put the butter, soft brown sugar and condensed milk into a saucepan. Heat gently, stirring until the sugar has dissolved.
- Bring gently to the boil, stirring continuously. Continue cooking until the caramel has thickened. Don’t wait for it to become very dark as it can quickly overcook.
- Pour the caramel over the completely cooled shortbread and spread evenly. Allow it to cool at room temperature, then chill for 15–30 minutes, or until firm.
- Melt the milk and dark chocolate together and spread evenly over the set caramel.
- Melt the white chocolate separately in the microwave in 15-second bursts, stirring between each one.
- Drizzle the white chocolate in lines over the melted milk and dark chocolate. Drag the tip of a knife backwards and forwards through the lines to create a marbled effect.
- Allow to cool slightly, then refrigerate until completely set.
- Once cooled fully, cut into squares and enjoy!




Leave a Reply